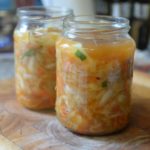
Kimchi / Kimkraut Kimchi is a Korean side dish made by fermenting vegetables with spices. Rather than sourcing the typical Korean spices and… Continue reading “Kimchi / Kimkraut”…
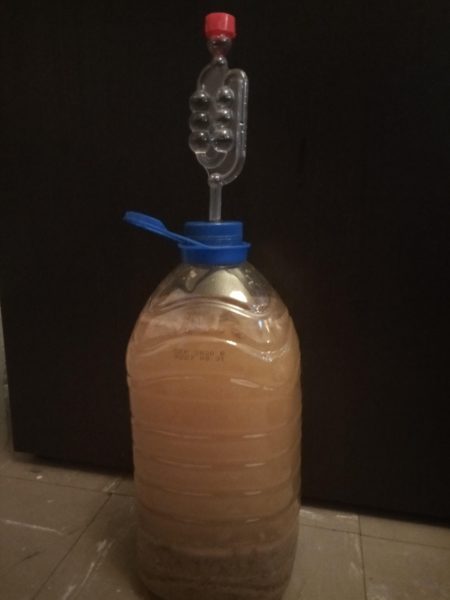
The Boy Taylor – Landlord Clone Homebrew clone of the classic English Pale Ale Timothy Taylor’s Landlord Ingredients malts 4250g Thomas Fawcett – Golden Promise Pale… Continue reading “The Boy Taylor – Landlord Clone”…
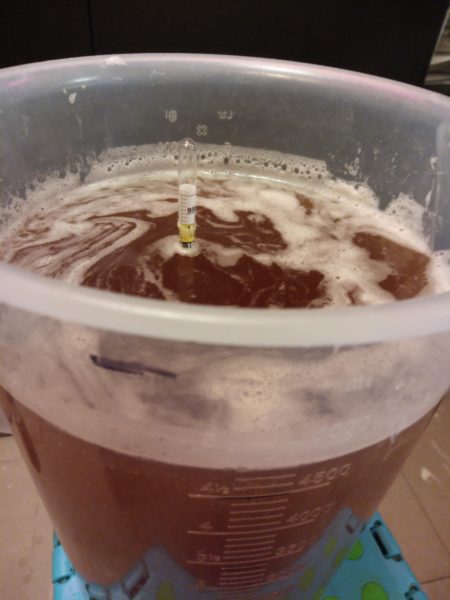
Five Point Best Better Homebrewed version of Five Point Brewery’s Best Bitter. Ingredients hops 3270g Simpsons Low Colour Maris Otter 140g Simpsons Wheat Malt… Continue reading “Five Point Best Better”…
Kvass Kvass is a traditional fermented Slavic drink made from rye bread with a low to no alcohol content. Ingredients 330g… Continue reading “Kvass”…
The Rainbow Oreo Oreo, and their parent company Kraft, caused a stir recently after pledging support for gay pride by posting the above… Continue reading “The Rainbow Oreo”…
Rapid Infusion Coffee Vodka As a continuation of the attempts at rapid infusion, this experiment tries to mimic the one Dave Arnold demonstrated in… Continue reading “Rapid Infusion Coffee Vodka”…
Making Movies I’ve been wanting to try make some simple documentation videos for a while now and as I’m generally a Mac… Continue reading “Making Movies”…